Disclosure: Any post may contain links to my shop or affiliate links, which means I may receive a commission from any purchase you make. All opinions about products I use are my own. Read the full disclosure and Privacy Policy HERE.

I’ve been living in my backyard this summer. Every chance I get, every break I get from anything else – and we are in the backyard again. There is something so cathartic, so therapeutic about watching things grow in the garden.
I heard a quote once that said something to the effect, “Want to teach a child about miracles? Let them plant a seed.” I think that is so true. My children are the first ones to find the new green poking through the dirt, the blackberries that turned black, the apples that are getting bigger, and the Hydrangea that are changing colors. I’m out there as much, if not more than them, but they SEE the miracles through the lens of children’s eyes, which is a beautiful thing if you ask me!
I would add to the miracle of seeing seeds grow, the wonder of seeing a garden and landscape come together.
Adding in the NEW raised beds was a big part of putting the garden together. It is actually the start of why we installed new pavers (see the post about how we installed patio pavers HERE). Our old garden beds were falling apart and weren’t going to last another season.

Look at how bad the insides rotted out – this wood was finished! The original wood was just untreated 2 x 6’s from the hardware store, nothing fancy.

The cedar for the new garden beds was cut from a lumber yard. I called and made a custom order and drove a little over an hour away through beautiful Arkansas Ozark mountain scenery to get there. (M&M Lumber Yard in Van Buren Arkansas)
The wood is pure cedar, cut straight from the log. Each plank is truly two inches thick and 12 inches wide. They smell divine.

Building The NEW Raised Garden Beds
The first cut we made to each board was to just square off the ends. Boards cut from lumber yards like this often don’t actually have square ends.
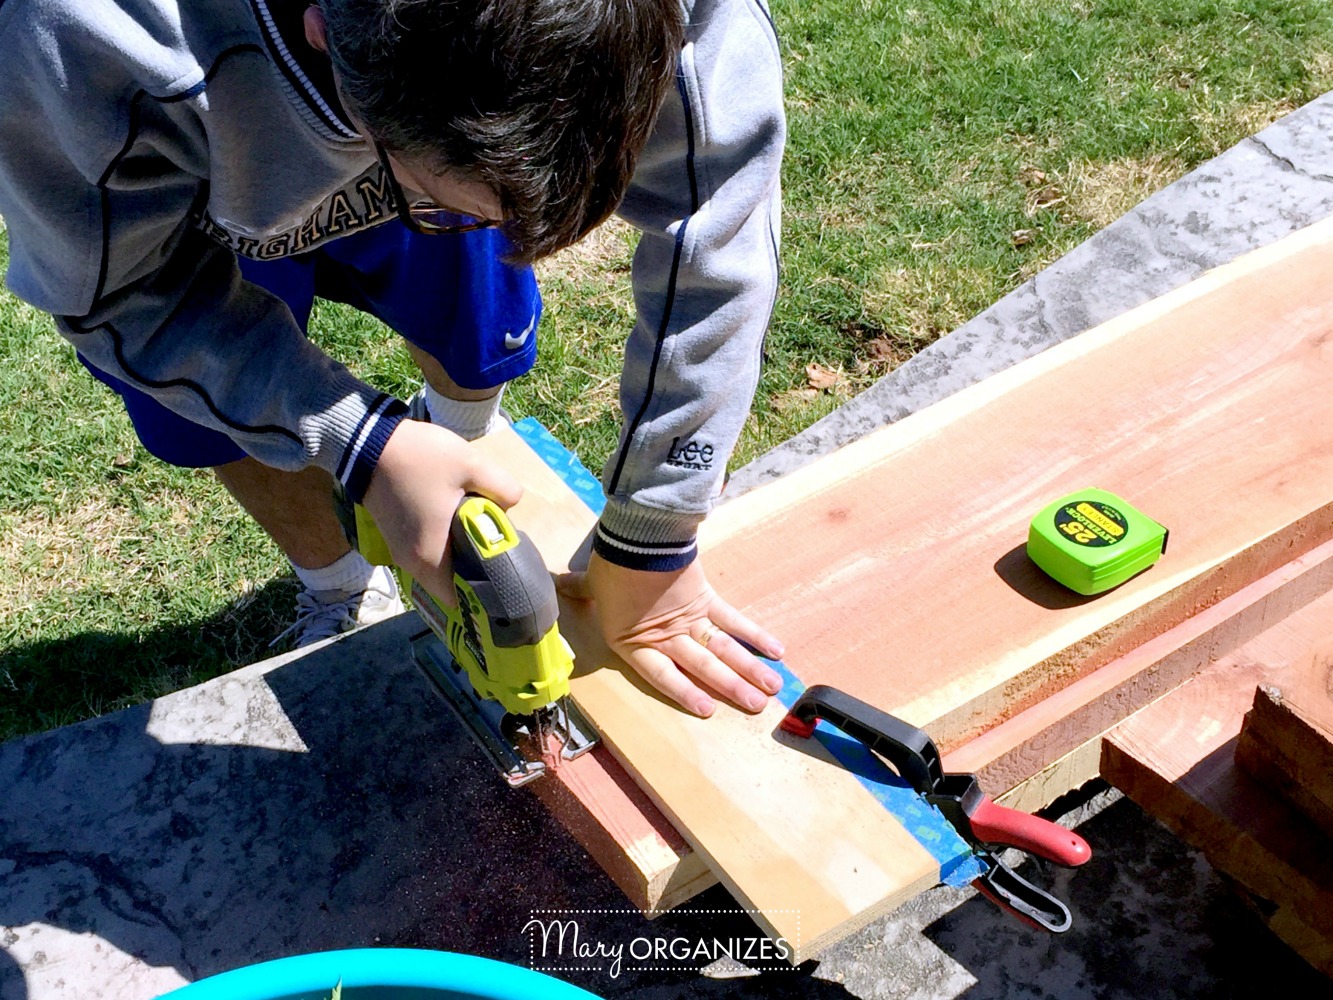
Every time we make a cut, we measure, use the square for the corners, and use a clamp for the cutting guide-board.
The great thing about raised beds is making the beds to fit your space. Of course, you’ll want to make sure you don’t make it too fat, or you won’t be able to reach the middle of the garden without tromping into your raised bed (you’ll want to avoid that because you plant things in a raised bed very close together).
We created 3 raised beds, here are the measurements for the boards we cut for each. Because our wood is 2″ thick, that effects these measurements.
Veggie Garden (4′ x 8′ garden): (2x) 44″, (2x) 96″, (4x) 2″ for corners
*Strawberry Patch (4′ x 8′ garden with high corners): (2x) 44″, (2x) 96″, (4x) 2″ x 16″ long (cut long ways in the wood to get the right length)
Trellis Garden (3′ x 6′ garden) : (2x) 32″, (2x) 68″, (4x) 2″
*This is the garden that is pictured in the finished tutorial. Other ones show up here and there through this post, but I’ll be showing them complete in the garden tour!

After all the cuts are made, we setup the garden to decide where we wanted all the wood placed.

The smaller end pieces fit inside of the long side pieces and the corner piece reinforces the corner so the dirt inside doesn’t push open the wood in the corner.

After we get everything setup, we clamped the corners really well.

We added lots of screws to each side. I used a ruler to mark where the holes needed to be drilled.
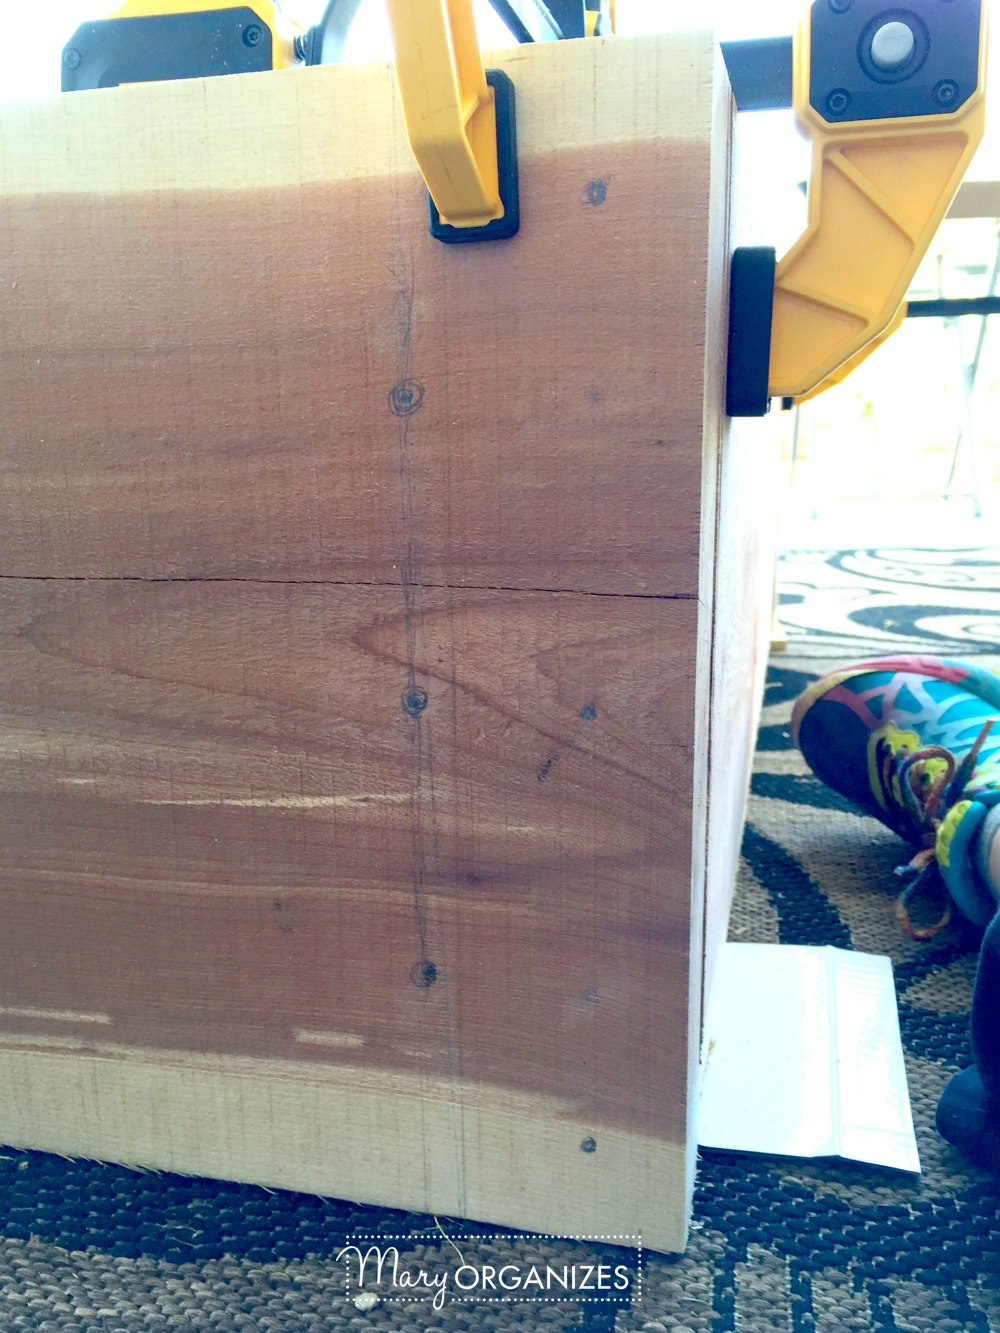
Before we screwed it together, we drilled all the holes.

“Oh, hey, do you mind holding up that side of the garden for a second? Your hands don’t reach? I guess you figured out a way around that!”

Screwing all the screws in was pretty easy with all the holes drilled.

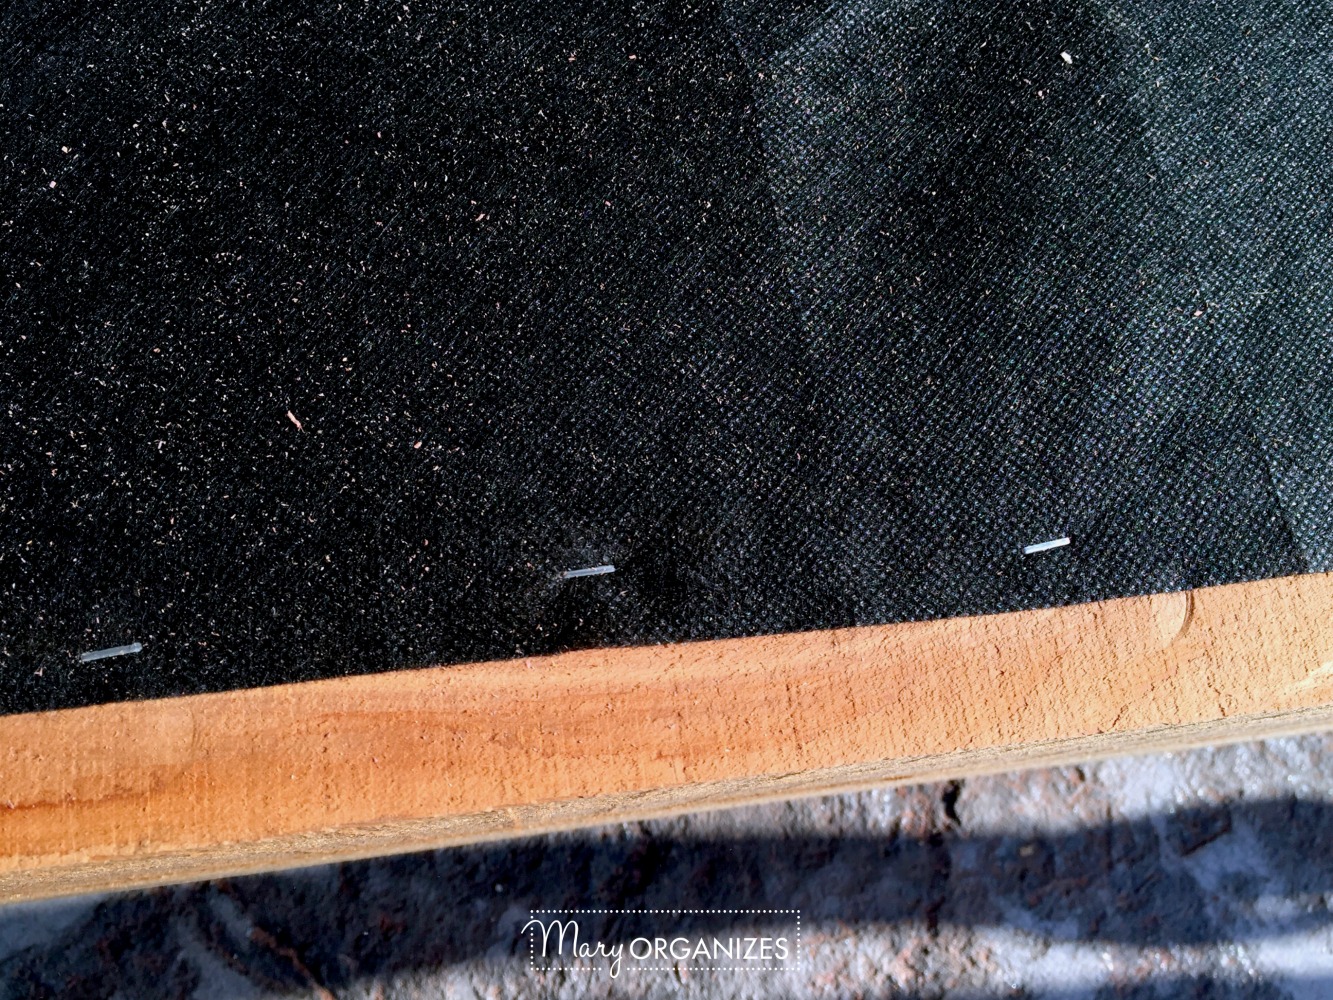
Next, we turned the box over and added landscape fabric to the bottom.

It was very easy with a staple gun.
Since the patio pavers to go underneath were laid, we jut had to carry it over to the garden and set it down.
Voila! A Raised Bed!

Creating My Favorite Dirt Combo
Years ago when we started our first family garden, we opted to start a Square Foot Garden and followed the recommended Mel’s Mix. Even though we now loosely follow that, especially ignoring the exact the “1 foot by 1 foot” part of that gardening method, the dirt mixture is still our favorite by far.
Honestly, it has been so long since we’ve read the book, I’m not sure we are following it exactly anymore, so I would refer to the book if you want to be sure to do it his way. Also, Mel’s Square Foot Gardens are usually only 6 inches high, and we wanted a higher garden, which takes a lot more dirt mixture.
(I had to buy more of each of these ingredients to fill all three of our boxes now than I would like to think about – yikes!) These are the ingredients in our dirt combo. If we want to do more dirt, we add more of this ratio:
- 1 Big Bag of Peat Moss, Approximately 1/3 of the mixture is peat moss.
- 2 Big Bags of Vermiculite, Approximately 1/3 of the mixture is vermiculite
- 6 Bags of Compost (not all shown), a variety of compost is best, Approximately 1/3 of the mixture is vermiculite
**We will only add all of this initially, in the future I’ll only need to add compost to the gardens.

We mixed the dirt in a very unorthodox way. We just let the children go wild with it. They were in dirty-kid-heaven.

“That’s right kids, mix it up!”

“Good job son, lift with your legs!”

And there we have it, a new raised garden bed and some very fine garden dirt … totally ready for some plants! And we have planted. I can’t wait to show you!

I learned so much making these garden beds. I can now say confidently that I can use a circular saw or a jigsaw by myself if necessary! That is pretty big for me!
If you want to make raised garden beds, I think you can do it too. If I can, you can!
Do you do your garden in a raised bed or in the ground or in pots? Tell me. I want to know!
From my home to yours,
Mary
Hi Mary- Thank you for the step by step instructions on how to build a raised bed. My husband built his almost exactly the same way except that we put two layers of chicken wire on the bottom to keep the critters from eating the roots of the plants ast he boxes are on ground rather than pavers. The components of the potting soil sound like they make for good and fast growing plants. Can’t wait to see the pictures of the fruits of your family’s labor. Thanks again for sharing.
Thanks, Regina! I love your idea of putting the chicken wire on the bottom of your boxes. So smart!
Where did you get vermiculite?
I’ve gotten it from garden stores and home depot and lowe’s before. You may have to ask where it is. When I found it at a garden store, it was a lot cheaper than home depot and lowe’s.