Disclosure: Any post may contain links to my shop or affiliate links, which means I may receive a commission from any purchase you make. All opinions about products I use are my own. Read the full disclosure and Privacy Policy HERE.

Our Simple Command Center I shared yesterday uses a magnetic chalkboard. I created all the magnet clips that are used on it. The hinge clips are super functional, but the glitter clips are my favorite.
They are all really easy and fun to make. I think you’ll enjoy it too.

What you need for simple hinge clip magnets:

How to Make the Magnet Clips
To make the simple hinge clips, it is as easy as you’d think.
Prepare the clips by making sure they are free of debris. Put down a piece of paper so you don’t ruin the surface of your table.
Put a magnet down on the paper. It is even better if you use a metal tray underneath the paper, because the magnet will stay in place if it is attracted to the surface underneath.
(It is always best to wear gloves when working with super glue.) Put a bit of super glue on top of the little disc magnet, then very carefully drop the metal hinge clip on top of the magnet, carefully lining up the top circular part with the magnet. The magnet will attract the metal hinge, so do this quickly and carefully.

That’s it, now let the magnet dry!
And while those dry, start working on the glitter magnets.
What you need for heavy-duty glitter magnets:
How to Make the Heavy Duty Glitter Magnets
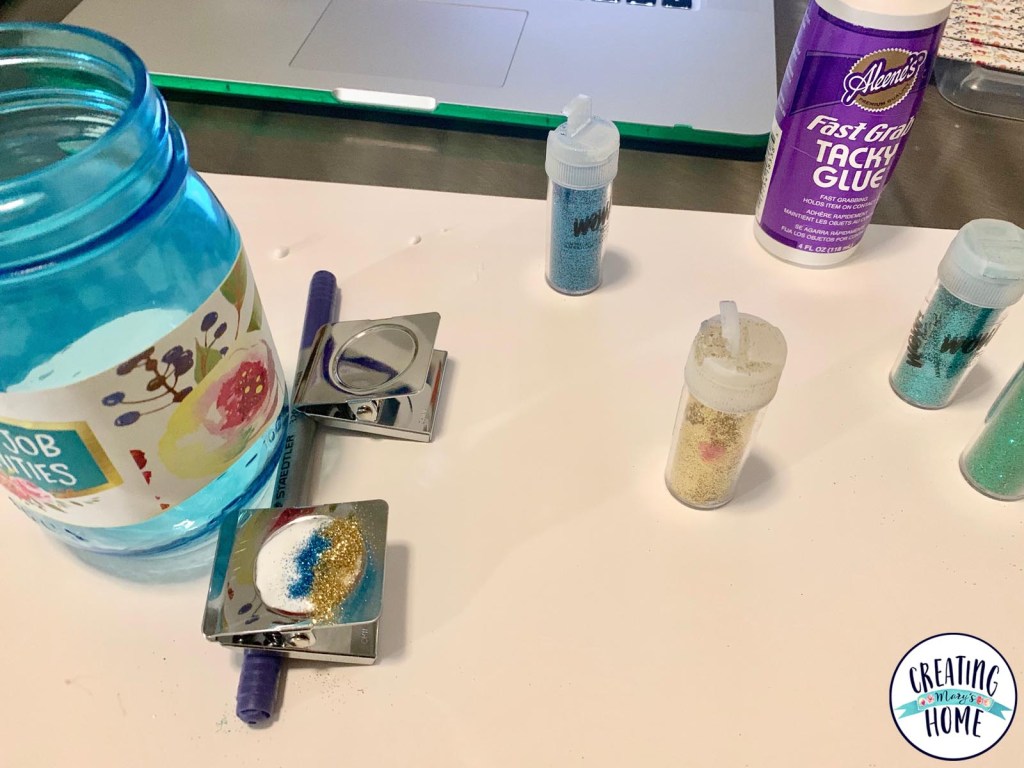
Use the tacky glue to carefully fill make a circle of glue that fills the imprinted section of the magnet.
To keep the glue level, use a pen or something similar to prop the low side of the magnet up. If the glue isn’t kept level, it will pool on the lower side and may drip.

Sprinkle glitter in your desired design on top of the wet glue.
Wait until the glue dries overnight, then you can bang the magnet inside a trash can to remove all the extra glitter.

Easy peasy!
Let me know if you make them, I’d love to hear how it goes.
From my home to yours,
Mary
PIN THIS POST

Leave a Reply