Disclosure: Any post may contain links to my shop or affiliate links, which means I may receive a commission from any purchase you make. All opinions about products I use are my own. Read the full disclosure and Privacy Policy HERE.
When I start a new project with my clients, I always ask what they want the room like when we’re done. I don’t believe it is a coincidence that all my clients want their home offices to be a simple, peaceful space with self-maintaining systems. Not so shockingly, that is what we want for our home office too. There are so many tactics to help a home office be all those things and more! The most obvious place to start is to get rid of all the non-office related clutter. I’ll share some other tactics below, and more details in posts to come, because some of these things deserve articles all to themselves.
Did you miss the before pictures of my office? Granted, it isn’t the most dramatic before and after, but when you live with a space day in and out, it is an enormous change! We have really appreciated the difference.
Our office is one of the first rooms you see when you enter our home. It is also my view from my desk (which is just inside that doorway to the right). The whole family is in and out of here for various reasons, to play the piano or this is the computer the kids use too, but really this room is primarily used by my husband Matt. And because I consider this space his that he shares with the rest of us, I wanted to give it a look and feel that he would enjoy. And also, I wanted to set up organizational systems that would make his life easier, while keeping the room a more enjoyable place for all.
Ta-da! Here it is!

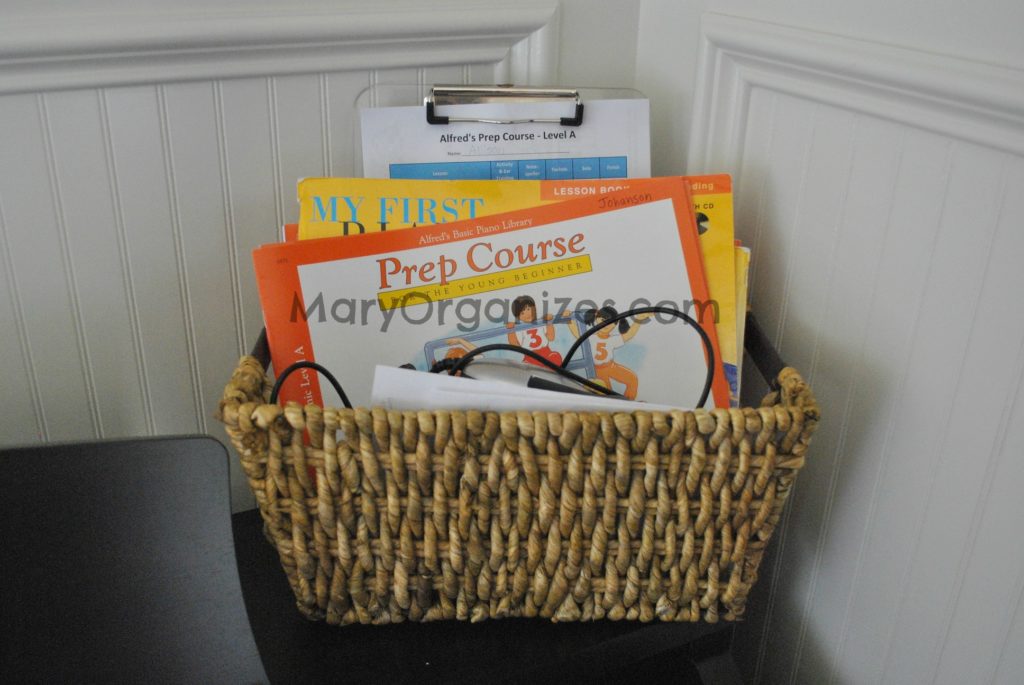
The piano nook got a little cleaned up. That basket now holds all the children’s piano books and the headphones.

My advice for baskets are to wait for a specific need and then buy the right basket. That way you’ll end up with a basket that is the right size and type for your needs. I’ve noticed that sometimes when people feel disorganized, they go out and buy baskets and containers as an effort to organize, then these baskets and containers become part of the excess clutter. Never buy a basket or a container if you can’t tell yourself exactly where you’d use it and what problem it would solve!
I love curtains on windows. I just do. It always feels like the room is more polished.
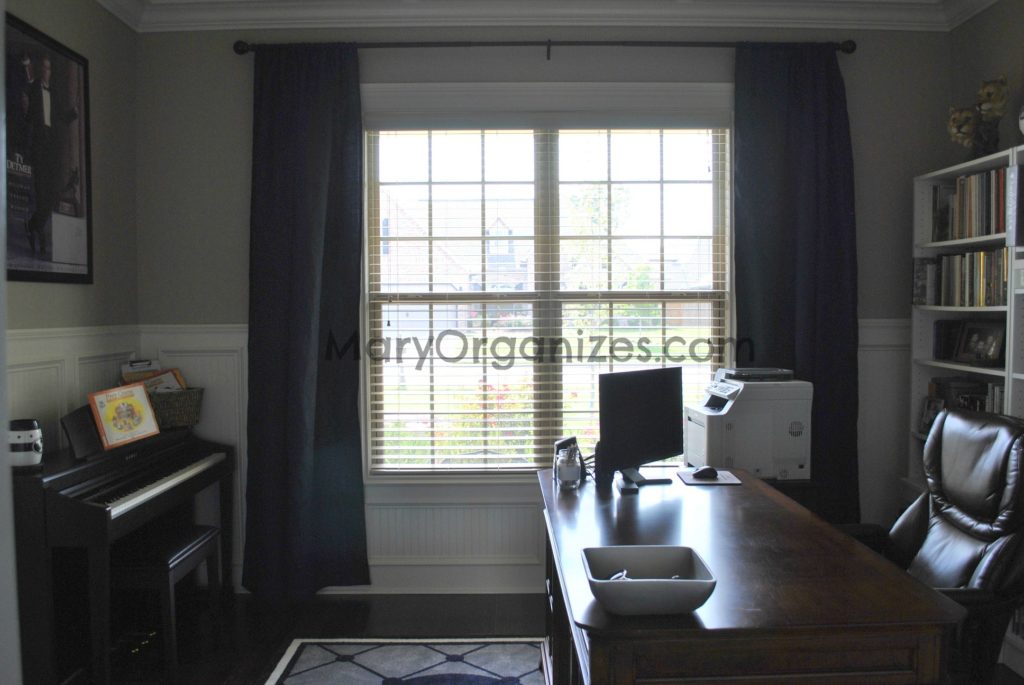
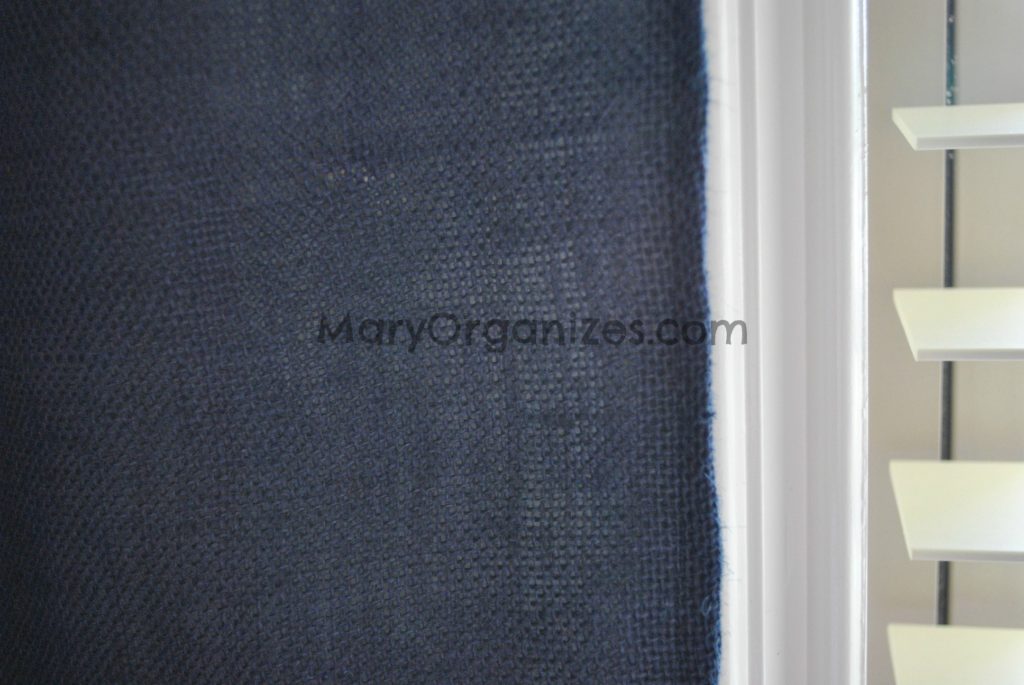
I found a really cool navy burlap material to make the curtains. While burlap is both beautiful and itchy, I think it has just the right feel for a man’s space. All the kinds of designs I like (floral, paisley, damask) didn’t seem manly enough. I gave Matt options between this navy burlap material or blue and white chevron. He chose this (and then I decided to get the blue chevron for the boy’s nursery). Good choice, Matt! Love the texture.
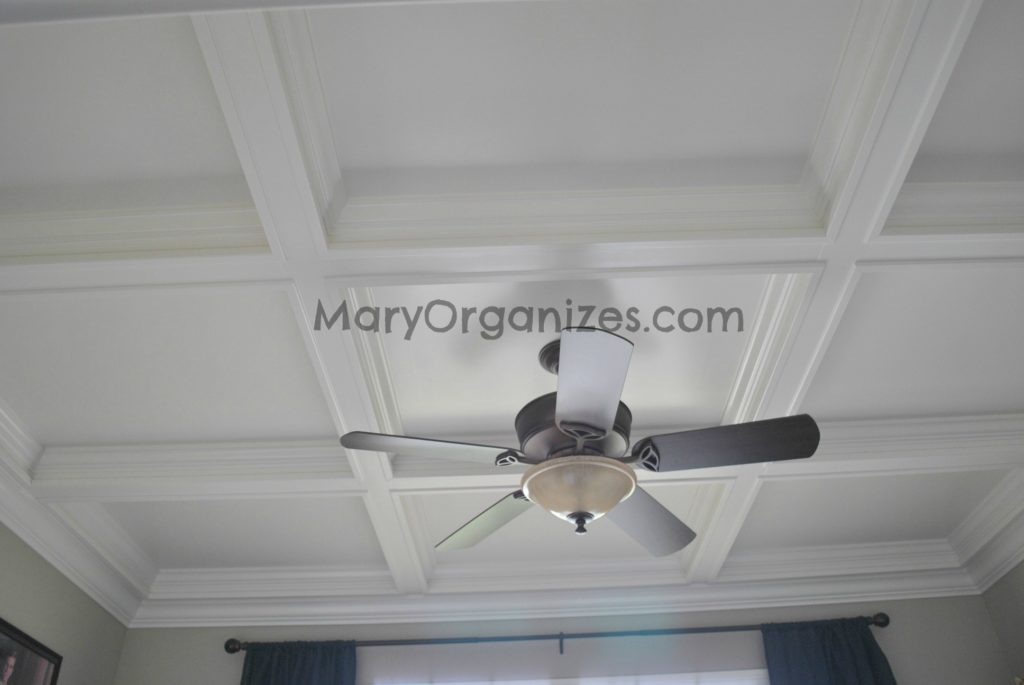
The ceiling didn’t change. I still like it.
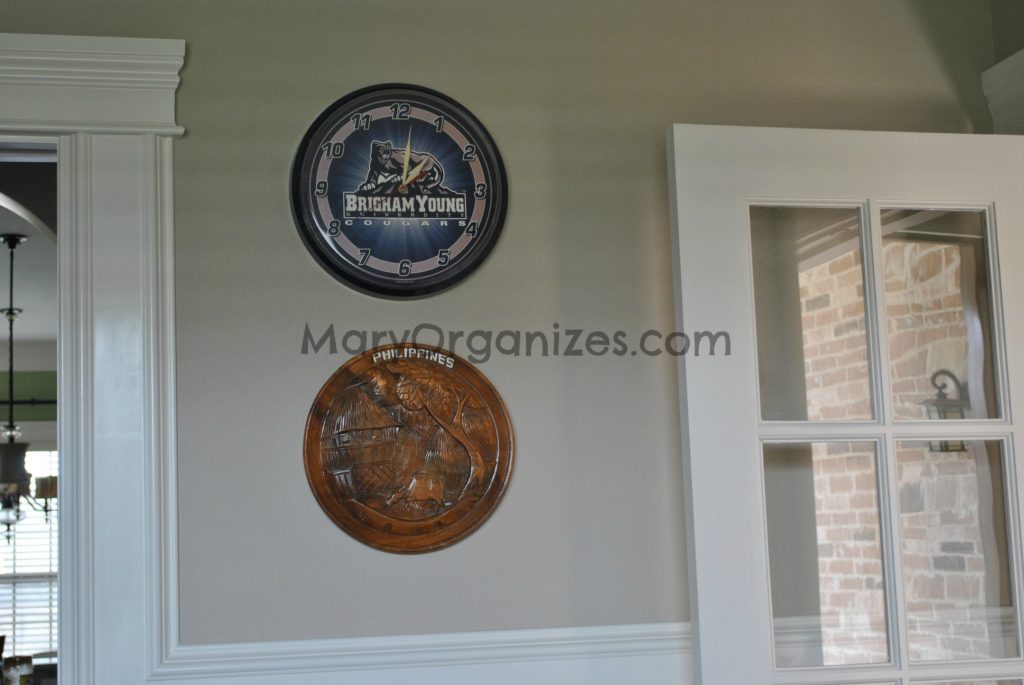
Remember how these were all asymmetrically positioned next to the window. I moved them here and am much happier. I think the clock is actually even visible to see the time now. It’s the little things.
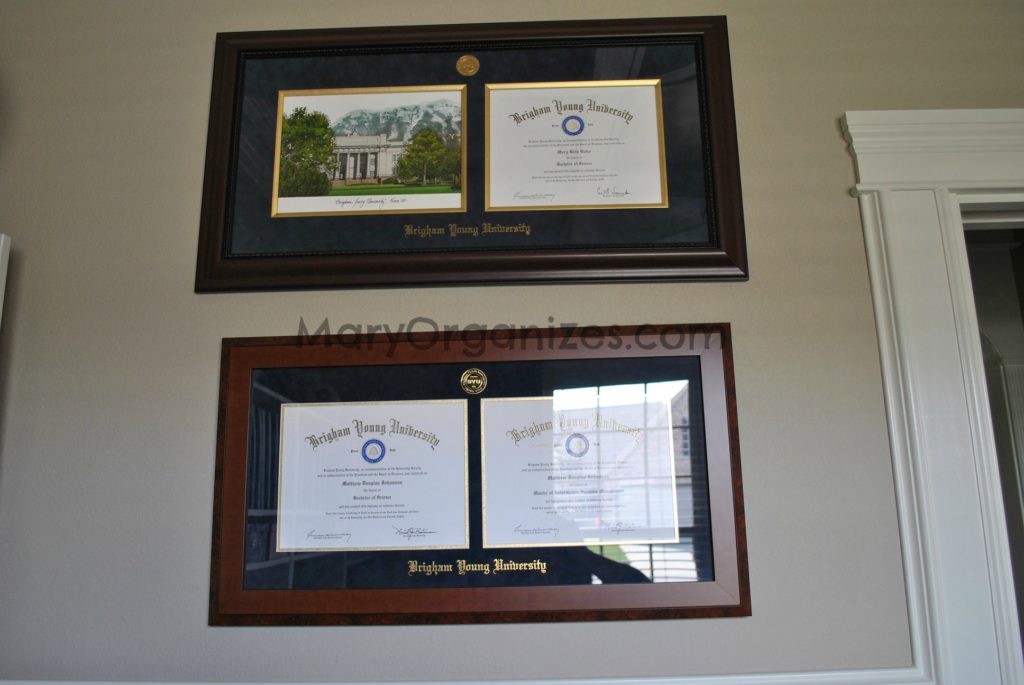
Matt has real diplomas now! Way to go, me, for finding them. I was getting a wee bit nervous. They were in the very last box that had remained unpacked since last September.
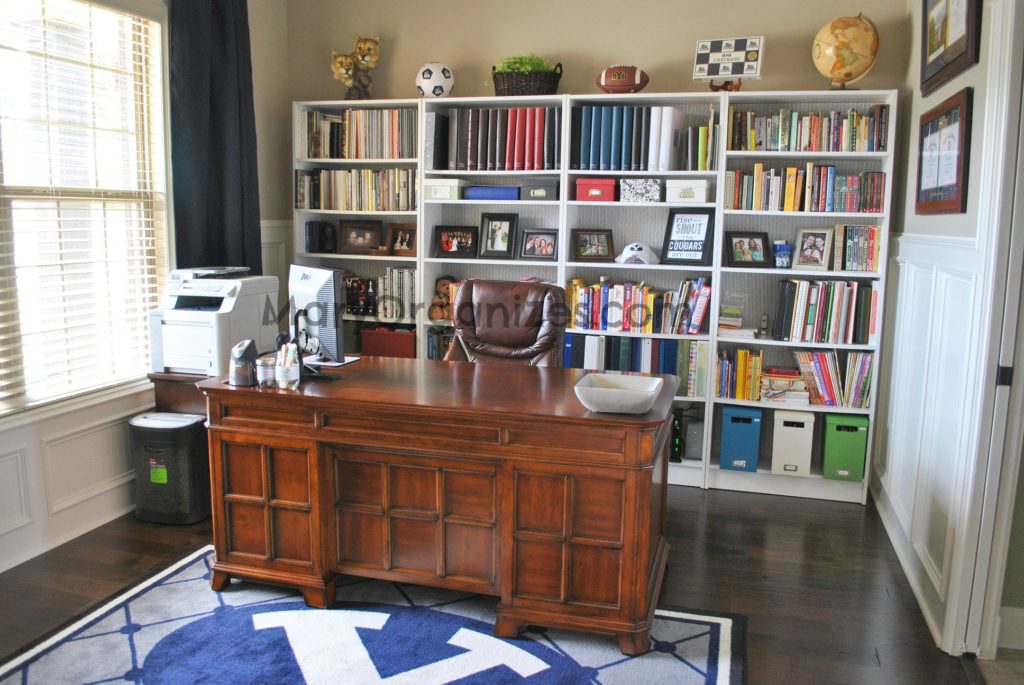
I’m happy to say Matt’s desk has been clean ever since we gave his common clutter issues a place. I also decorated the tops of the shelves. These were things we already had collected for years (Matt and I are a bit of suckers for anything that says BYU on it), so I just had to arrange them nicely on top. I ordered little stands online for the soccer and football and used a photo easel for the checkers board game.
Matt got a new chair for his birthday. Doesn’t it look regal? It is way more comfortable! It is my chair of choice when I teach piano lessons. I’d probably steal it if it would fit in my desk. (You can see a glimpse of my desk in the kitchen tour.) Speaking of desks. I love Matt’s desk. It was the first piece of furniture I picked out for our new home. I love everything about it.
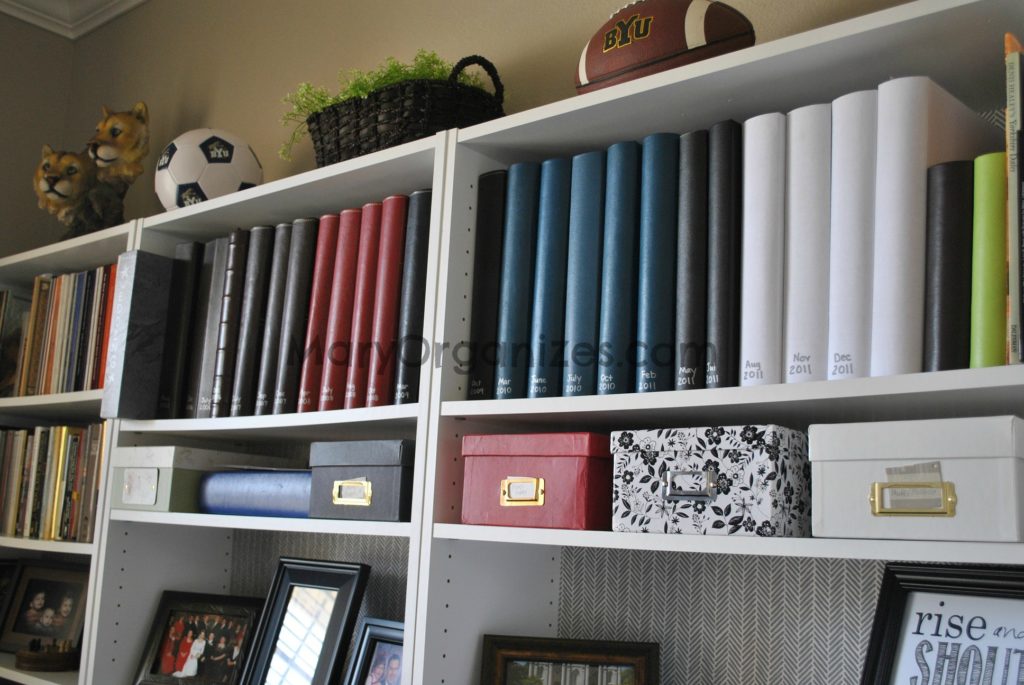
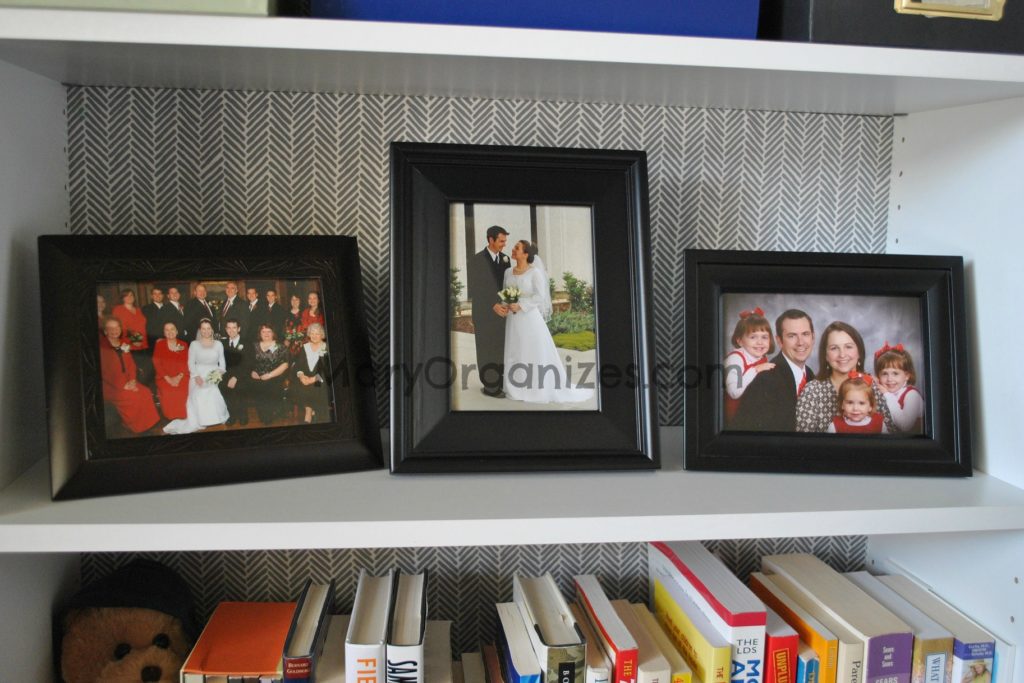
The shelves got a make-over. Here are all of our pictures in one place. I still print out 4 by 6’s and put them in albums. I know this is a shocking revelation in the digital age. I take a lot of pictures of my kids and the #1 reason I still print pictures: I go through and label which of my identical twins is in each picture. I really want them to know that kind of thing in the future! I think I’ll always know who was who, but the girls can’t tell which one is themselves in their pictures, especially their early pictures. Just one of those little things I do because I am a mom of identical twins.
Do you notice the back of the shelf? That’s right, it isn’t white anymore. We cut foam board to fit in each shelf and wrapped that foam board with fabric, then pushed that wrapped foam board to the back of the shelf and it just stays in without any adhesive. It was a pretty big project, because there are a lot of shelves, but I think it adds so much depth to the look of the shelves.
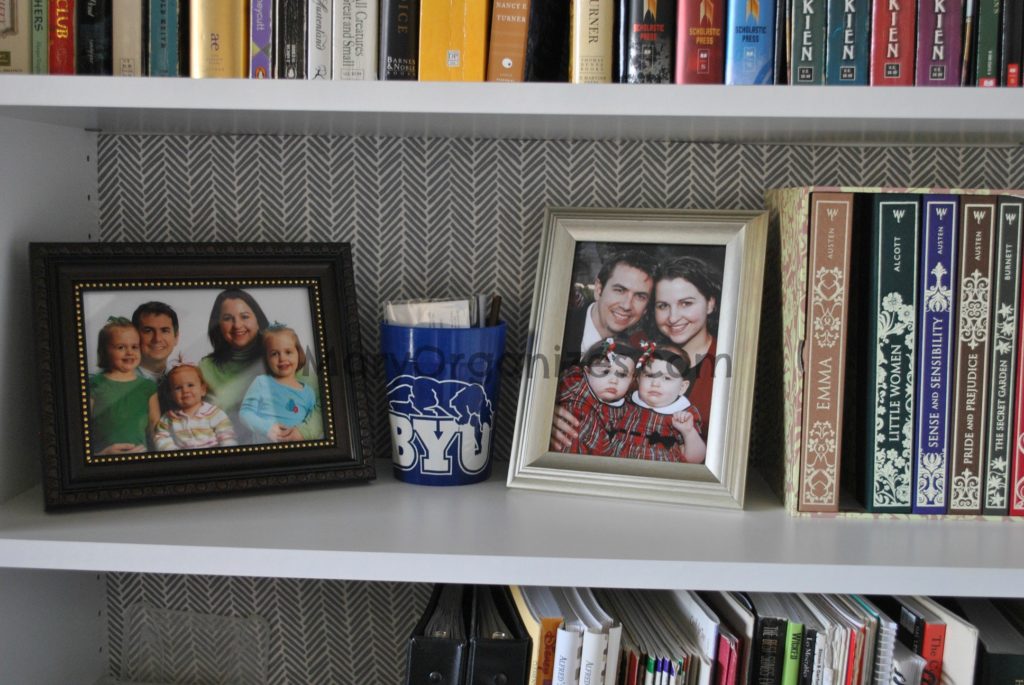
Remember how some of the shelves had storage that wasn’t really shelf-appropriate? I decided to use framed family pictures to fill in non-book space. Original idea, right?
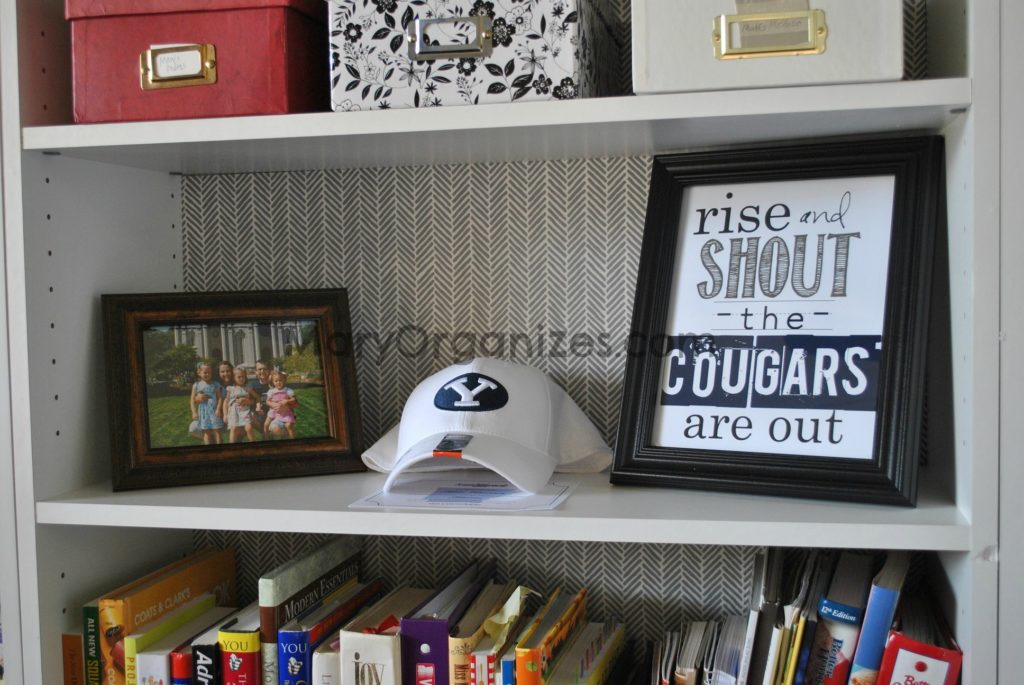
That white hat is signed by Chad Lewis because Matt was the first person in the state of Arkansas to sign up for the Touchdown club this season.
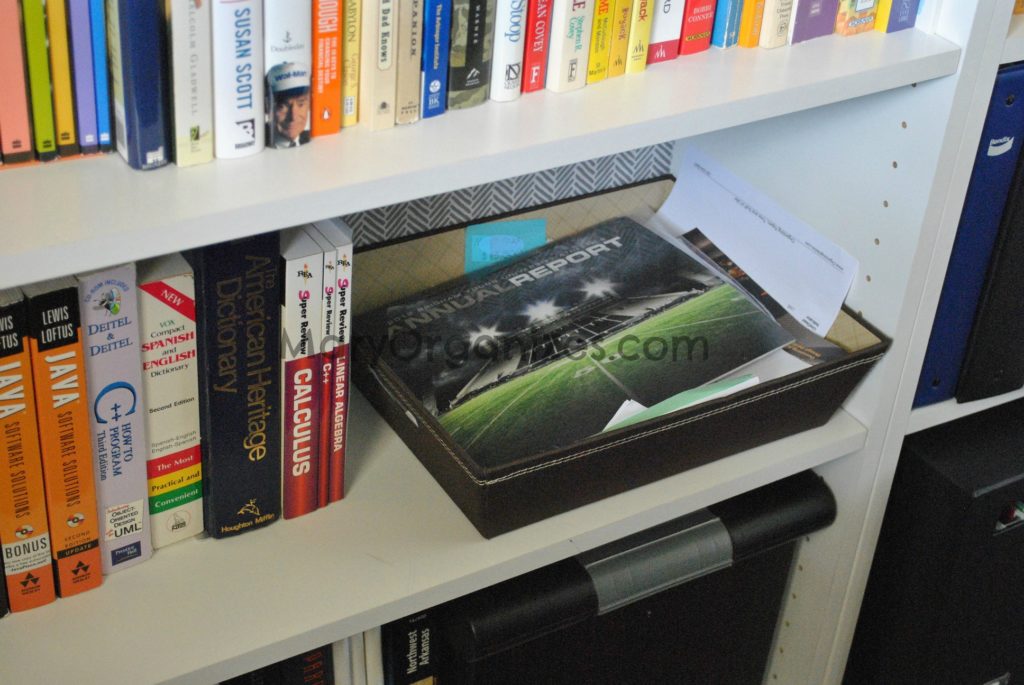
Hidden right behind his desk chair is Matt’s inbox. This is where I put mail and papers that might have otherwise crowded his desk. He gets to go through these at his leisure (usually when it gets full), which works for me, because now there is no clutter on the desk and these things eventually get handled. Win-win!
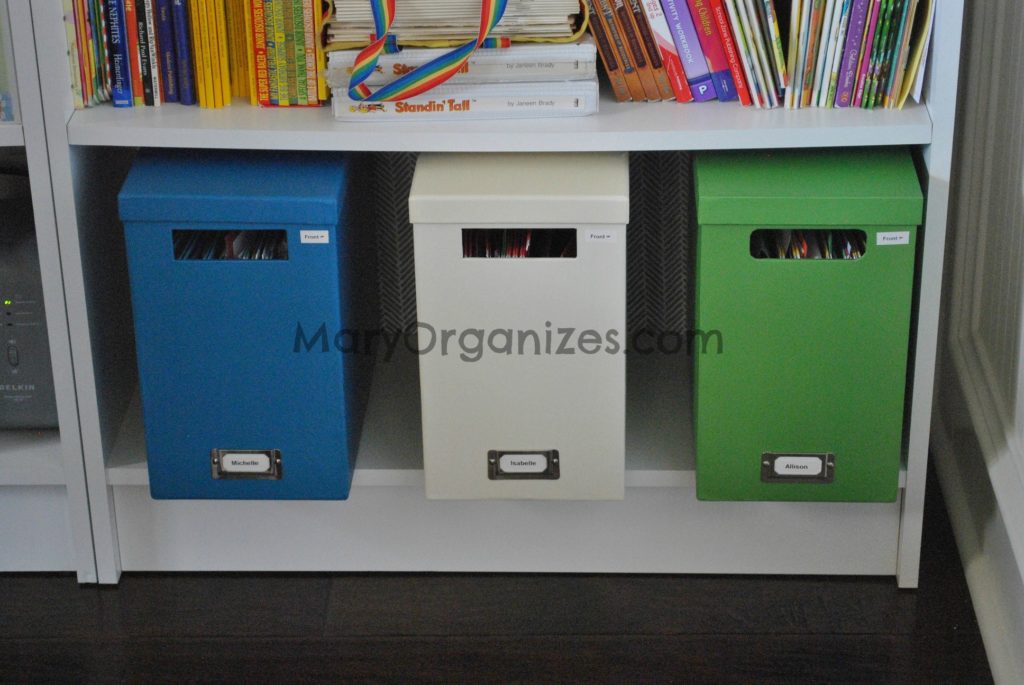
These are the girls memory boxes that hold keepsake papers. I use file folders inside to separate type of keepsake item and keep them in chronological order.
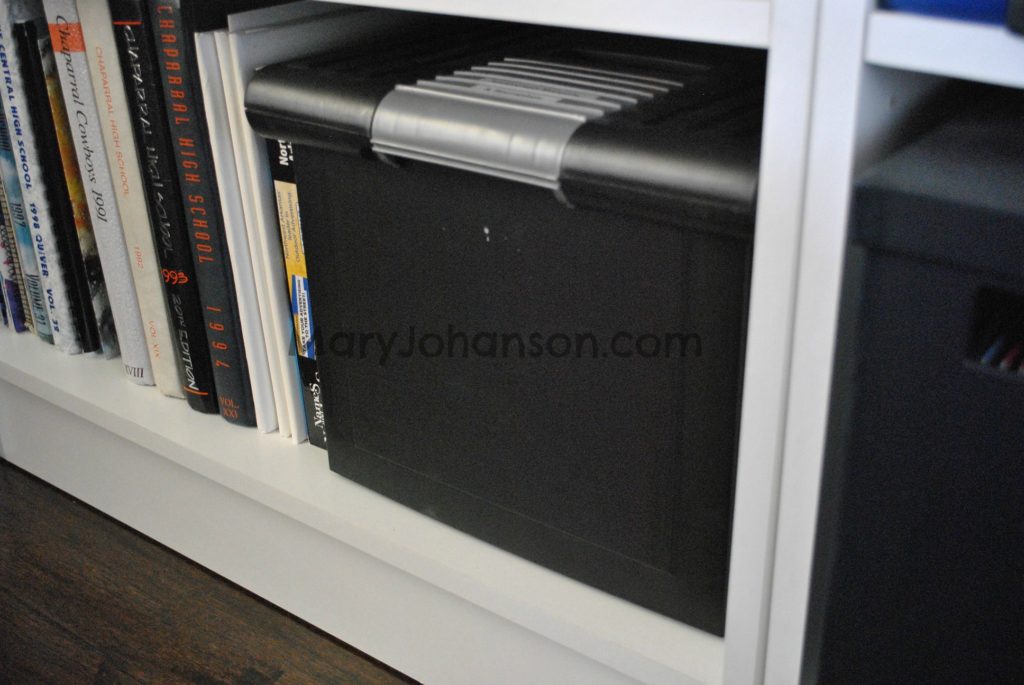
This plastic file folder has all our user manuals and warranty information. The opportunity cost of organizing these is not worth it to me, as we almost never look for anything inside. So yep, when a new manual or whatever comes in the house (such as, we just got new humidifiers that came with user manuals and limited warranties … weird to just throw it away … so), it goes straight in that box and doesn’t junk up anywhere else.
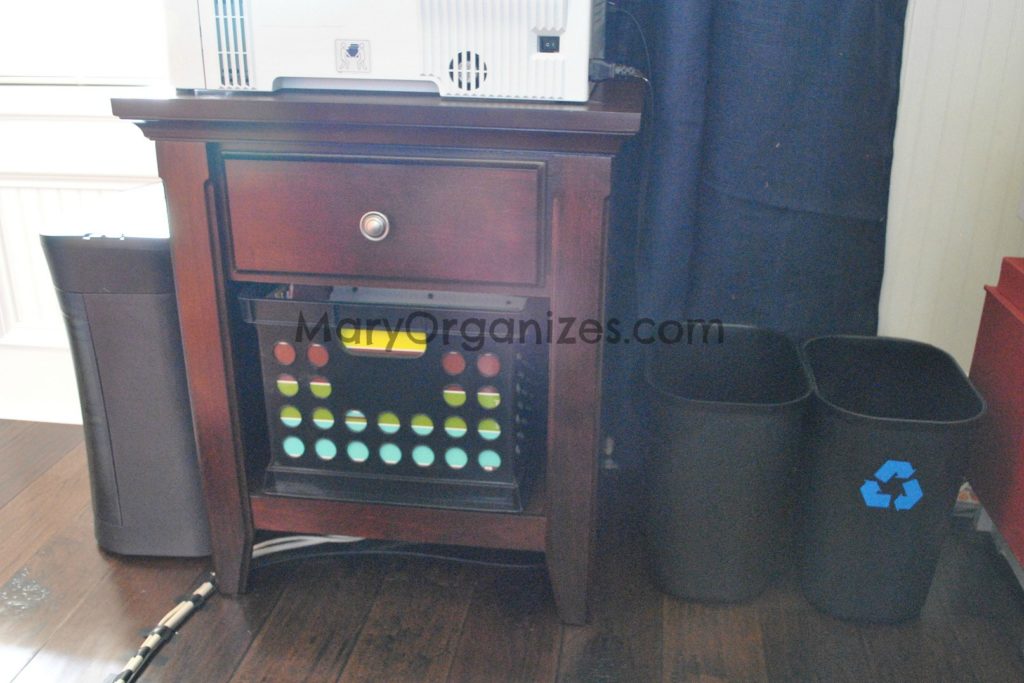
Our printer station. We keep the printer paper nearby in that little drawer right underneath the printer. We taped down the cords. I ran out of creativity here, though I do like having them grouped and pinned down. Do you have a better way of handling floor cords that need to cross a path?

A view of this area from behind the desk. I like to have a recycling bin right in the office, because that is where most recyclable papers are opened and managed. My friend made me that cute vinyl recycling symbol.
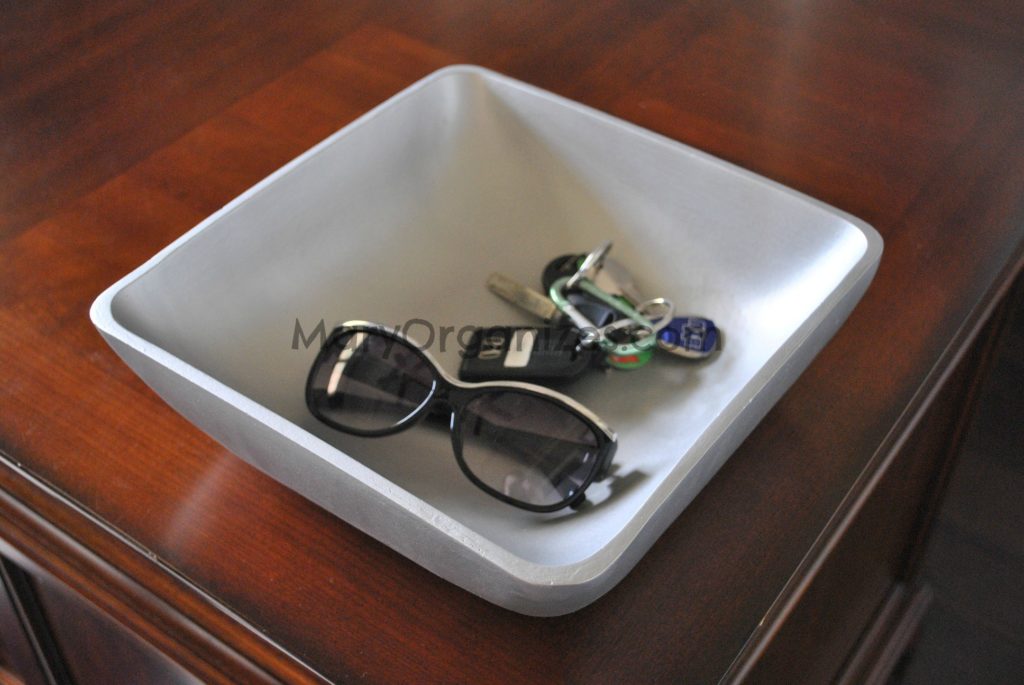
This is a wooden bowl that I spray painted this brushed nickel. I put little plastic pads on the bottom so the desk top wouldn’t get scratched. These are my sunglasses and keys (Matt is at work with all of his stuff), but I wanted to showcase the purpose of this bowl. Matt uses this to empty his pockets when he comes home, and then all the stuff that goes back in his pockets the next morning. He was already using his desktop for this purpose, so I wanted him to have a little bowl to make it tidied looking and to protect his desktop from being scratched by keys.
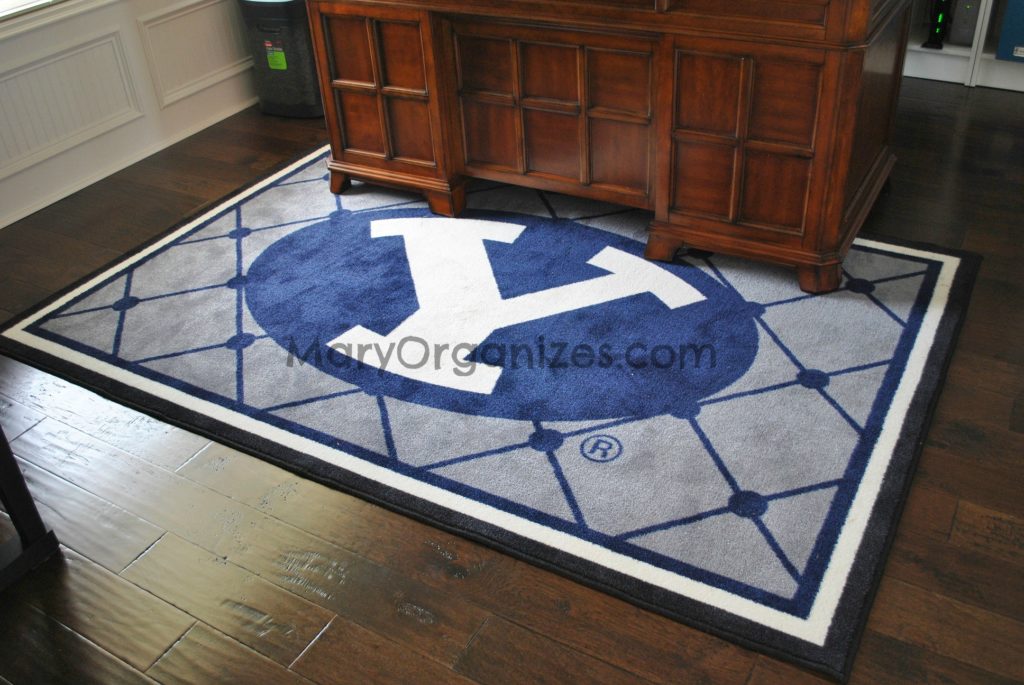
Oh, happy BYU rug. We are a bit of super-fans over here, so we like the decorative statement this rug makes.
I hope you enjoyed seeing our home office. Were you inspired by any ideas you could duplicate for your home office? What things would you like to know more about organizing? Do you struggle with files – what to keep, how to keep it? Our files are in the office desk and very accessible. What about the kids memory boxes? Want to know more? What about the inbox? Are you interested in the rules of thumb for dealing with in boxes so they don’t get out of control? Want to know more about how I handle all of our pictures, even the awkward larger ones that don’t fit in the photo album, but don’t have a place on the wall? Tell me what you want to know about!
From my home to yours,
Mary
I loved everything about the before and after pictures. You are amazing Mary!
Looks great. Functional, beautiful, and personal. I love it. Now if only I could get my office to look that good.
The room was something to be envied before. With the tweaks you made it is absolutely stunning. Adding the draperies and fine tuning the bookcase really made a big difference. You have a gorgeous home.
Love it all – where did you buy the boxes you are using for memory boxes? Also we had a similar problem with cords across the floor so we just called in our electrician friend and for $100 we now have an outlet on the other side of the room. May not work in all situations but worth a try. The $100 saved me so many headaches with kids playing or tripping on cords.
Looks great! I too print out photos, so you are not alone. Thank you for sharing. Visiting from Bacon Time. Would love it if you would share this at my Make it Pretty Monday party at The Dedicated House which goes live at 8am CST on Monday. http://thededicatedhouse.blogspot.com Hope to see you at the bash! Toodles, Kathryn @TheDedicatedHouse
Love the fabric at the back of the bookcases! That is what I’d like to do to our built ins.Great work!
The office is so beautifully done! Your ceiling is to die for! You have every reason to love it. I’m in love with your rug and want one of my own. My oldest is a cougar now, and I come from a family of cougar alumni (even married one!). NICE JOB!!
that rug is soo awesome. where did you get it?
The room looks amazing! I love the idea of the memory boxes for your kids. I have just been putting my son’s things with our other files, and that has just made it more cluttered.
This has definitely given me some wonderful inspiration for getting our office area organized 🙂
Great job! I do love an organized and tidy space…this is absolutely one I could work in too (;
Just found your blog via Sumo’s Sweet Stuff and became your most recent follower (: Can’t wait to come back for more posts…Hope you have a lovely week!!
Michele xoxo
The Homesteading Cottage
oh man, you are so right about the baskets! i feel like baskets should be corralling things, but sometimes they do just add to the clutter! your office looks great!
I hate HATE when papers clutter up any surface but my husband likes to line up papers in neat rows so he can see everything that needs attending. Drives me nuts. I almost have him trained to put incoming mail in a basket in our coat closet (right next to the kitchen where we open the mail), but I’m not quite there yet. lol I love how organized your office is!
Looks great! I love the tip about not buying containers unless you know exactly what you’ll use them for. I had to keep reminding myself of that on my last Home Goods trip when I was gazing at all those lovely baskets. I managed to come home with only two, though!
Oh, oh, oh I want that rug ! ! !
Oh, wow! How nice and organized! I am dreaming of one day getting this organized! I love the background of your builtins! The fabric looks great. I need to do that to mine to add some interest. Thanks for sharing at Gettin’ Krafty With It! Enjoy that new home office!
Your space looks amazing! Anyone would love to work there =)
Thanks so much for linking up at I Gotta Create!
I’m featuring you… you are a STAR:
http://igottacreate.blogspot.com/2012/11/10-brilliant-lamp-ideas-more.html
Wow! Looks great! I especially love the rug.
Love this office. I like the Y stuff too.
This looks amazing! I love all the BYU touches. I like that it’s not overwhelming but has a lot of BYU items here and there. The rug is awesome! Great job!
Mary, I had an idea about concealing your cord running through the pathway. You could spray paint an extension cord (or just get a colored cord) that will match the sides of your wall. You could line it across the bottom of your wall to the outlet. Use a staple gun sparingly or same color tape. 🙂 Thanks for the tips! So inspiring!
Thanks for the idea! Thanks for stopping by the blog today. 🙂
I love the navy blue burlap curtains. Those are exactly what I’ve been looking for (I’m a guy and need some curtains, but I don’t want anything too formal or feminine.) Do you have a link to where you purchased the fabric?
Hi Dustin – I buy most of my fabric from fabric[dot]com. If you search navy burlap or just burlap (then select navy color), you should find what you need. I really enjoy the look and feel of them in the office. -Mary
I simply love seeing your photos and reading about your organization projects and ideas, but I am stressing over clearing out some clutter at this time in my life. Most of our home is pretty orderly, except for my office which I share with my husband, a bedroom upstairs that he uses also as a partial office and the garage. My husband and I are retired, but we both stay very busy. Right now, I am trying to focus on cleaning out, organizing and redecorating my office, but it seems almost overwhelming and it is hard from me to stay motivated. I would love some encouraging words from you.
Judi – If a lot of your home is orderly, you are off to a great start with it! I know that some of my clients can get overwhelmed when they think about ALL that needs to get done. I would encourage you to make a list of things that need to get done and break up tasks into as small of parts as possible. For instance, instead of writing “organize office”, divide that up into many many tiny jobs. 1. Throw garbage away. 2. Collect 10 things that need to go somewhere else in the house and put those away. 3. Find 5 things to donate. 4. Stack all loose papers into a pile. 5. Sort through 20 pieces of paper. 6. Etc. Etc.
Pick one thing at a time to focus on and highlight it on your list. When you are finished, cross it off and then highlight something else to focus on next. You can convert all the time spent worrying about it to time spent getting a little done at a time. Before you know it, you’ll be well on your way. I always highlight my top priority on my to do list and it always helps me focus. Good luck! Let me know how it goes!
Love the after. The shelves definitely look more put together. That is what I struggle with. Our homeschool room is our dining room and it looks like a giant mess.
Shelves are convenient for seeing what you have, but cabinets are ideal for hiding storage areas that are used often. I bet your homeschool room is used a lot!
I bought the same shelves and Husband didn’t like them; He works for a furniture /appliance store and is kind of snooty about furniture. We are planning a move soon so I didn’t want to spend BIG MONEY on ‘real’ shelves so I bought these. What I am going to do when I get all four put up — (he is dragging ‘my’ feet, haha) is run a strip of molding down one side of the adjoining edges, so it looks more finished, but you can still pull them apart to move easily. (Even if the molding got damaged, it is cheap to replace.) Also you can put a strip of crown molding along the top and a strip of baseboard along the bottom to fool people into thinking it is a nicer set of shelves. Also next time, just cover the backing board all at once and staple to frame instead of trying to do one shelf area at a time. You can use a roll of thin foam packing- padding or thicker fabric instead of foam core, or just wallpaper. And as always make sure your shelves are attached to wall, in case of earthquake. I love your office and I am inspired to work on decluttering/ cleaning/ organizing mine. (Also for cords you can get rubber trip-guards [‘thresh-holds’ that are tunnels for the cords but look like speed bumps] so you don’t trip, without having to tape cords down, at office-supply stores.)
I mean that the adjoining molding strip looks like it is covering the crack between two sets of shelves, but it is only attached on ONE side of the set of shelves and the other set just slips in behind it. Unless you decide to add the crown and baseboard; in that case, you might as well nail or glue everything into one big unit.
I’ve actually considered doing what you’re suggesting. I love your detailed description, thanks!
I enjoy reading your helpful tips and they have been so much help to me. I love your home office! Thanks for taking us on a tour of where and how you have put things you use. As I read, I could see myself using your ideas in our home office.
I have a problem similar to Judi, listed above. My problem is that I pulled out “everything” and did not leave enough time to finish. I have a “mess” that is downright depressing! I read what you replied to Judi and that has given me
“renewed hope” that I can finish this project!
You asked about suggestions for the cord that ran across the floor. When I taught school, we had to run cords to where we had outlets and a lot of times we had only 2 or 3 in the whole room. They usually ran across walk ways.
The office stores sell a cord protector that we used to run the cords through and it had adhesive on the bottom so it stuck to the carpet/floor. (If you ever had to move it, you could use double-sided carpet tape to refasten.) Children could walk on it without tripping and it was easy for the cleaning staff to vacuum over it without disturbing anything. It had a slit in the bottom to make it easy to insert the cords. It came about 25 feet long and could be cut to the length needed. It had a neater look, too. I hope this helps.