Disclosure: Any post may contain links to my shop or affiliate links, which means I may receive a commission from any purchase you make. All opinions about products I use are my own. Read the full disclosure and Privacy Policy HERE.
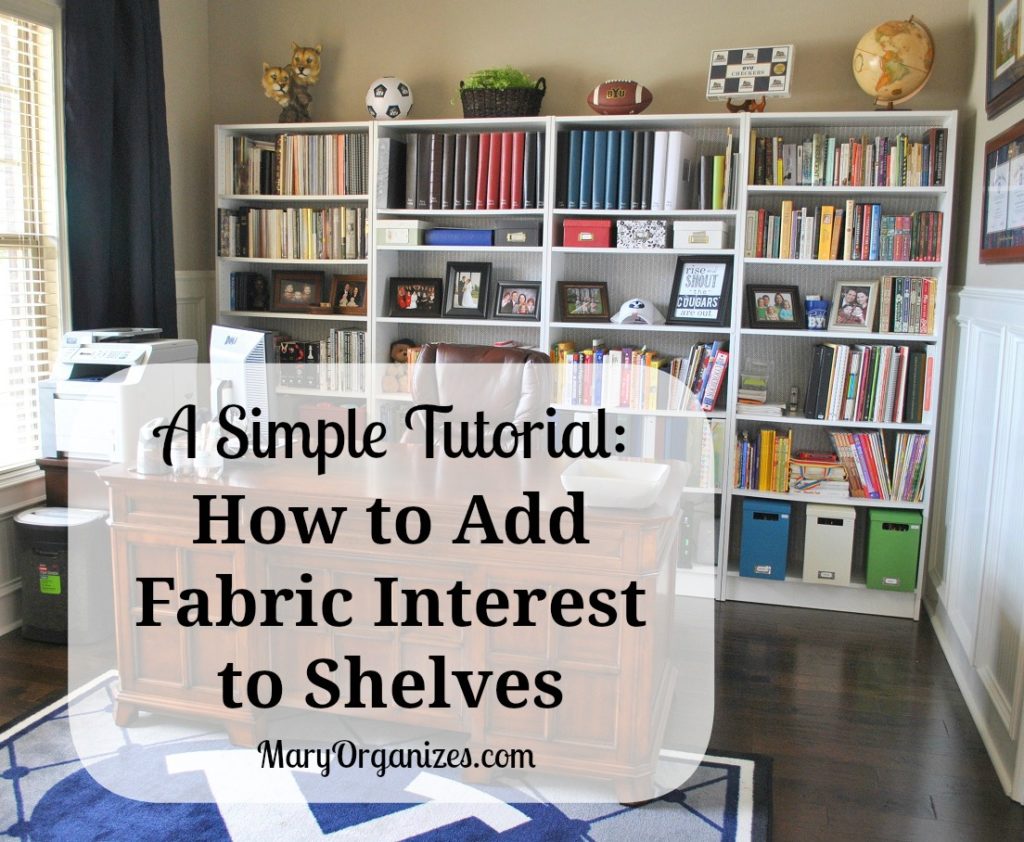
Thank you for all the positive feedback about our Home Office Reveal. That was so fun to show you! I had some messages about how we added fabric to the back of the shelves. The fabric gives a bit of interest and depth to otherwise boring shelves. I’m happy to show you the simple tutorial!
First of all, I found this fabric in the clearance section of Target. It is actually a set of sheets that I thought would fit the look and feel of our office. I didn’t want something too bold so it would blend into the background. One set of twin sheets (fitted and flat both) provided enough fabric for ALL of our shelves. That is less than $20 for yards and yards of fabric. Score!
The foam board came from the craft store (I think cardboard from a big box would work too, but I didn’t have any boxes big enough lying around). It took quite a few sheets of foam board, so I bought them over time using coupons. I didn’t want this project to break the bank. The whole office re-do was a birthday gift to my husband and part of the gift was telling him how I didn’t spend much money. Now, if it were reversed, I would have no problem with him telling me he spent lots of money on my gift! We are a good complement.
I measured the inner back of each shelf and cut foam boards to size with an razor-edge knife. This part took the longest, and admittedly, after I did a few myself I ended up recruiting my husband to do it for me. Yep, I just admitted that I asked him to help with his own birthday present.

We worked as a team. He cut the boards out and I cut the fabric and wrapped each board. I laid out all the boards on a strip of the sheet fabric and then cut it out to make sure it all fit efficiently. I didn’t need a ton of excess fabric around each board, especially since I pulled the fabric really tight when I taped it down.

I used duct tape, which was really effective. I taped down the long sides first, to make sure there was fabric left on each side of the board. I taped down the fabric on one of the long sides, then pulled really tight and taped it down on the other long side. I taped the fabric on one of the short sides, pulled it really tight and then taped the other side down, which was the last strip of duct tape on the back. Taping each corner seemed to help too. Here is what the back looked like.

When all the boards were ready, we emptied each shelf, shoved the foam board to the back. It fit tight enough that it is not going to budge. Then we put all the shelf contents back in.
Here is what the shelves looked like before:

And here is a shelf all done:
What a difference it made! The shelves don’t even look the same to me. What do you think?
Pin it and give it a try.
From my home to yours,
Mary


Looks great!!! Love your fabric!
I’m glad that you mentioned using clearanced sheets instead of buying fabric by the yard. I very often find and use sheets, table cloths, throw blankets and curtains for all sorts of things besides their intended use. And of course, I always look in the clearance section first! The shelves look great, too.
I love the ways the shelves look with the fabric added. A very creative idea I thought. Lovely!
Love this idea! ! thanks for linking up! Happy Holidays!
Happy holidays! Just stopping by to let you know I am featuring you tomorrow!
Kim